How to batch resize images on a Mac
To batch resize images on a Mac, select them in Finder and open them together in Preview, select all the thumbnails in the sidebar, then choose Tools › Adjust Size and enter a new width or height. Preview resizes every selected image at once and changes the original files. To keep the originals, use the Convert Image Quick Action in Finder instead, which saves resized copies.
Last checked: October 2026 on macOS 26 Tahoe.
Method 1: Preview (changes the originals)
- In Finder, select the images and press Command-O, or Control-click and choose Open With › Preview. They open in one window.
- If the sidebar is hidden, choose View › Thumbnails. Click a thumbnail and press Command-A to select them all.
- Choose Tools › Adjust Size.
- Choose a preset from Fit into, or type a width or height. Keep Scale proportionally on so images are not stretched, and keep Resample image on.
- Click OK, then choose File › Save, or close the window. The resized images replace the originals.
To keep the originals, copy the images to a new folder first (Command-C, then Command-V in the new folder) and resize the copies.
Method 2: Convert Image Quick Action (keeps the originals)
- Select the images in Finder.
- Control-click one and choose Quick Actions › Convert Image.
- Choose a Format (JPEG, PNG or HEIF) and an Image Size: Small, Medium, Large or Actual Size.
- Click Convert. New files are saved next to the originals.
The sizes are presets, so this is quick but not exact. For an exact size, use Preview or Shortcuts.
Method 3: Shortcuts
In the Shortcuts app, make a shortcut with the Resize Image action (set a width, and leave height on Auto to keep the shape), followed by Save File. In the shortcut's details, turn on Use as Quick Action for Finder. It then appears under Quick Actions when you Control-click images, and runs on everything selected.
Method 4: Terminal
The built-in sips tool resizes in place. In a folder of copies, sips -Z 1600 *.jpg makes the longest side of every JPEG 1600 pixels. It overwrites the files, so run it only on copies.
With Dropbay
Dropbay's Resize Images action works on images collected from any number of folders. Drop them on a shelf, choose Resize Images, and set the longest side, width, height or a percentage; the shape is always kept, and images are never made larger than the original. Results are saved as new files next to the originals by default, or on the shelf or in a folder you pick. The same shelf can also convert images to JPEG, PNG, HEIC or TIFF, compress them, or extract their text.
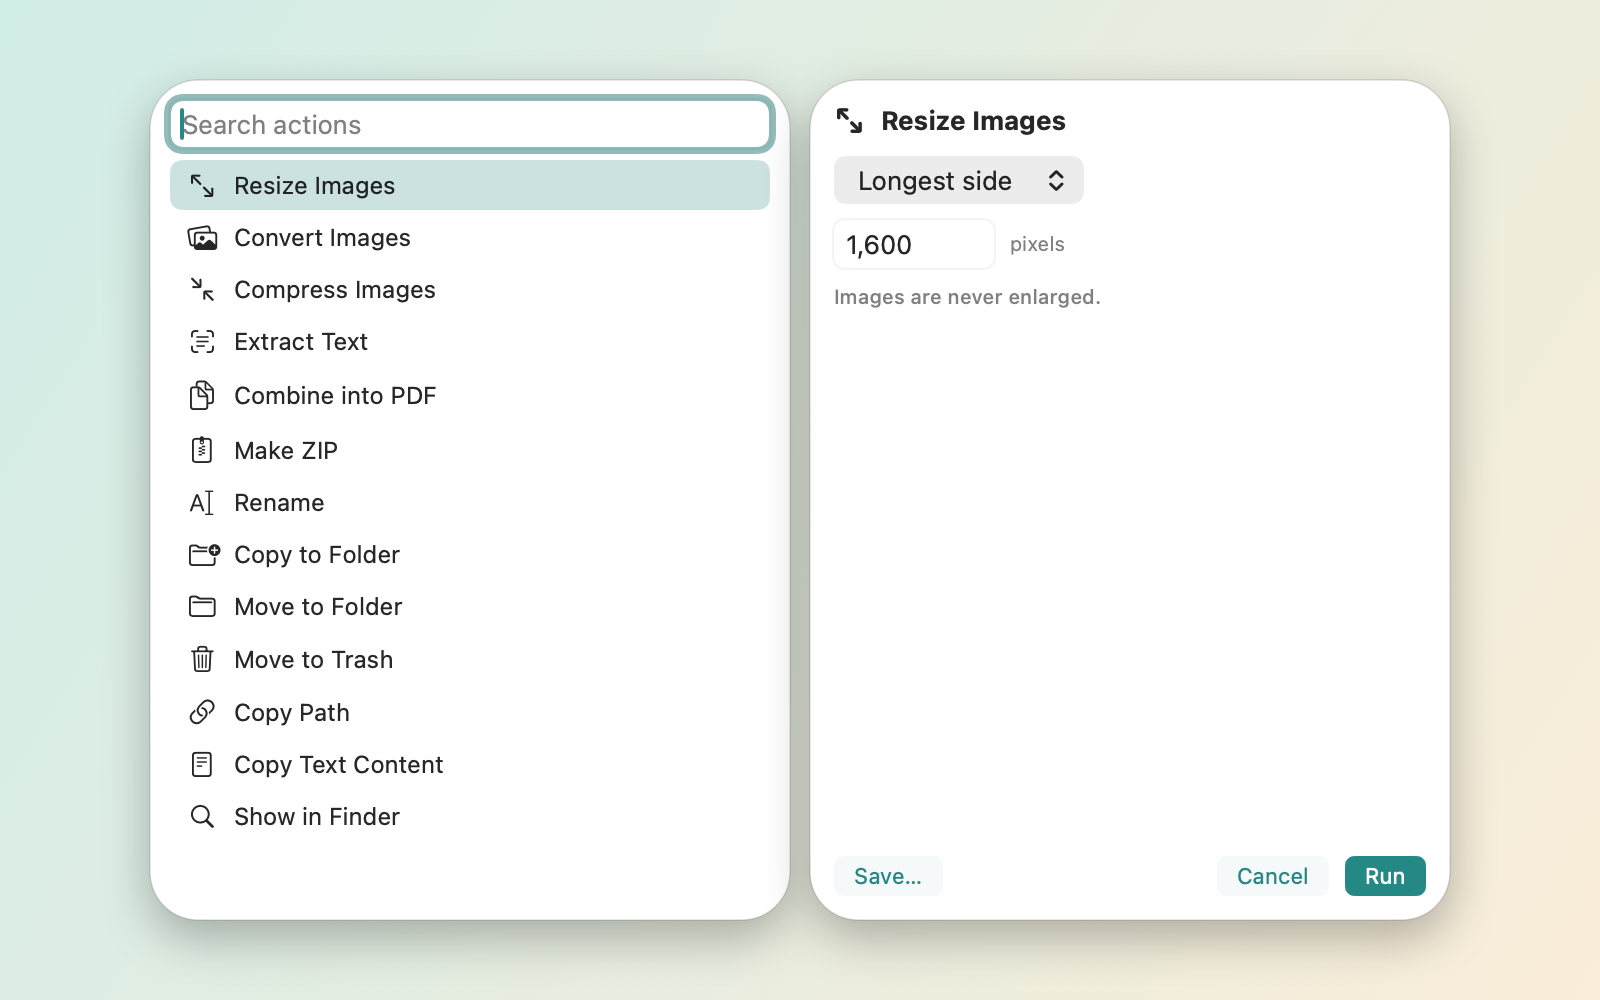
Image actions are part of Dropbay Pro: included in the 14-day trial, then $5.99 once on up to 3 Macs. The shelf itself stays free. macOS 14 or later.
Questions
Can Preview resize images without replacing the originals?
Not in a batch. Preview saves over the files it opened. Resize copies, or use the Convert Image Quick Action, which saves new files.
How do I resize images to an exact width on a Mac?
In Preview's Tools › Adjust Size, type the width and keep Scale proportionally on. The height follows to keep the shape.
Where is Convert Image on my Mac?
Control-click one or more images in Finder and look under Quick Actions. If it is missing, check System Settings › General › Login Items & Extensions › Finder (Extensions › Finder on macOS 14).